

This time last year, I was inspired to do some Christmas baking to give to family and friends as a seasonal treat. Gingerbread is fine, but has never been my favourite-I wanted to make something softer and kid friendly.
Honey Jumbles are a sweet memory from my childhood and I knew I had a recipe in my Women’s Weekly book, so I got myself some Christmassy biscuit cutters and food dye and had a crack at a bit of decorating. My first batch needed a bit more spice (thanks trusty family taste testers!), so I added more flavour to the next lot and had a winner.
I made a number of batches and made gift bags to give to family and friends. They were well received by all- the little kids seemed to like them just as much, if not more than the grown ups, I think because the icing balances nicely with the spices. This year I’ve made even more biscuits (up around the 200 mark) and it’s been a big undertaking, but I’ve had heaps of fun decorating and gifting them.
In this recipe I have used two cutter shapes, a Christmas tree and star, but you can cut any shape you like (no need to go and buy specific Christmas ones!), and make your biscuits Christmassy when you ice and decorate. You should get between 30-40 biscuits out of the one batch, depending on the size of the cutter/s you use.
You’ll need:
For the biscuits-
- 60g butter
- 1/2 cup (110g) firmly packed dark brown sugar
- 3/4 cup (270g) golden syrup
- 1 large egg
- 1/2 cup (75g) self raising flour
- 2 1/2 cups (375g) plain flour
- 1/.2 teaspoon bicarb (baking) soda
- 4 tsp ground ginger
- 2 tsp ground cinnamon
- 1 tsp ground cloves
- 1 tsp ground nutmeg
- 1 tsp mixed spice

For the icing-
- 1 egg white
- 1 1/2 cups (240g) icing sugar
- 2 tsp plain flour
- approx 1 tbsp lemon juice
- food colourings of your choice (red and green at a minimum)
- Metallic cachous, food shimmer, sprinkles & whatever takes your fancy to decorate with
Method
- Combine the butter, dark brown sugar and golden syrup in a small saucepan and stir over medium heat until smooth.
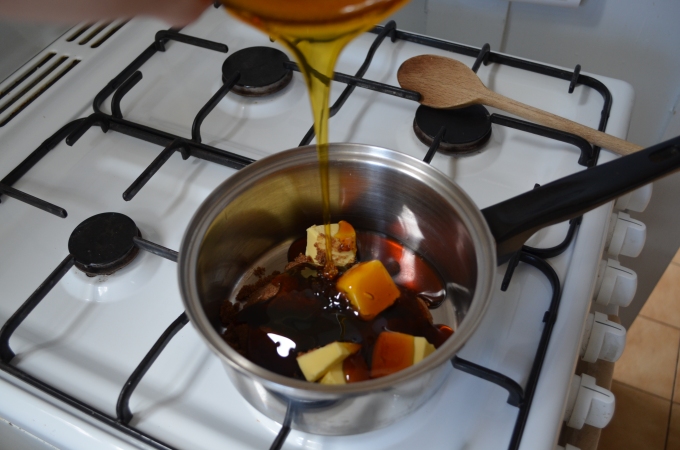
2. Add hot mixture to a large bowl and cool for 10 minutes. Add egg to cooled mixture and stir until combined.
3. Add half of the sifted dry ingredients and stir until combined, and repeat.
4. Turn your dough out onto a lightly floured surface and knead, with floured hands, until it loses its stickiness (this usually takes me about 5 minutes of kneading). 

5. Wrap dough in cling-wrap and refrigerate for 30 minutes.
6. Preheat oven to 180°C and grease & flour two oven trays.
7. Remove chilled dough from the fridge and roll out to about 0.5cm thickness and cut out your shapes, with a lightly floured biscuit, placing onto your trays so they don’t touch (I’ll be honest, to fit them all on, they have to be pretty close, which is why I’m not giving you a distance)

8. Bake for around 15 minutes, keeping an eye on them and turning or swapping shelves if necessary, and remove when just golden brown and fragrant. Cool on trays for 5-10 minutes and then place on wire racks to cool completely.
9. To make the icing- place egg white in a medium bowl and add sifted icing sugar. Stir until a thick paste forms. Divide mixture between as many bowls as colours you want to decorate with- I usually take enough to mix up two bowls and leave the last third in the main bowl to use as I need. Add colouring gradually and stir until you reach the desired colour, and then add lemon juice and extra icing paste as necessary to make it spreadable.
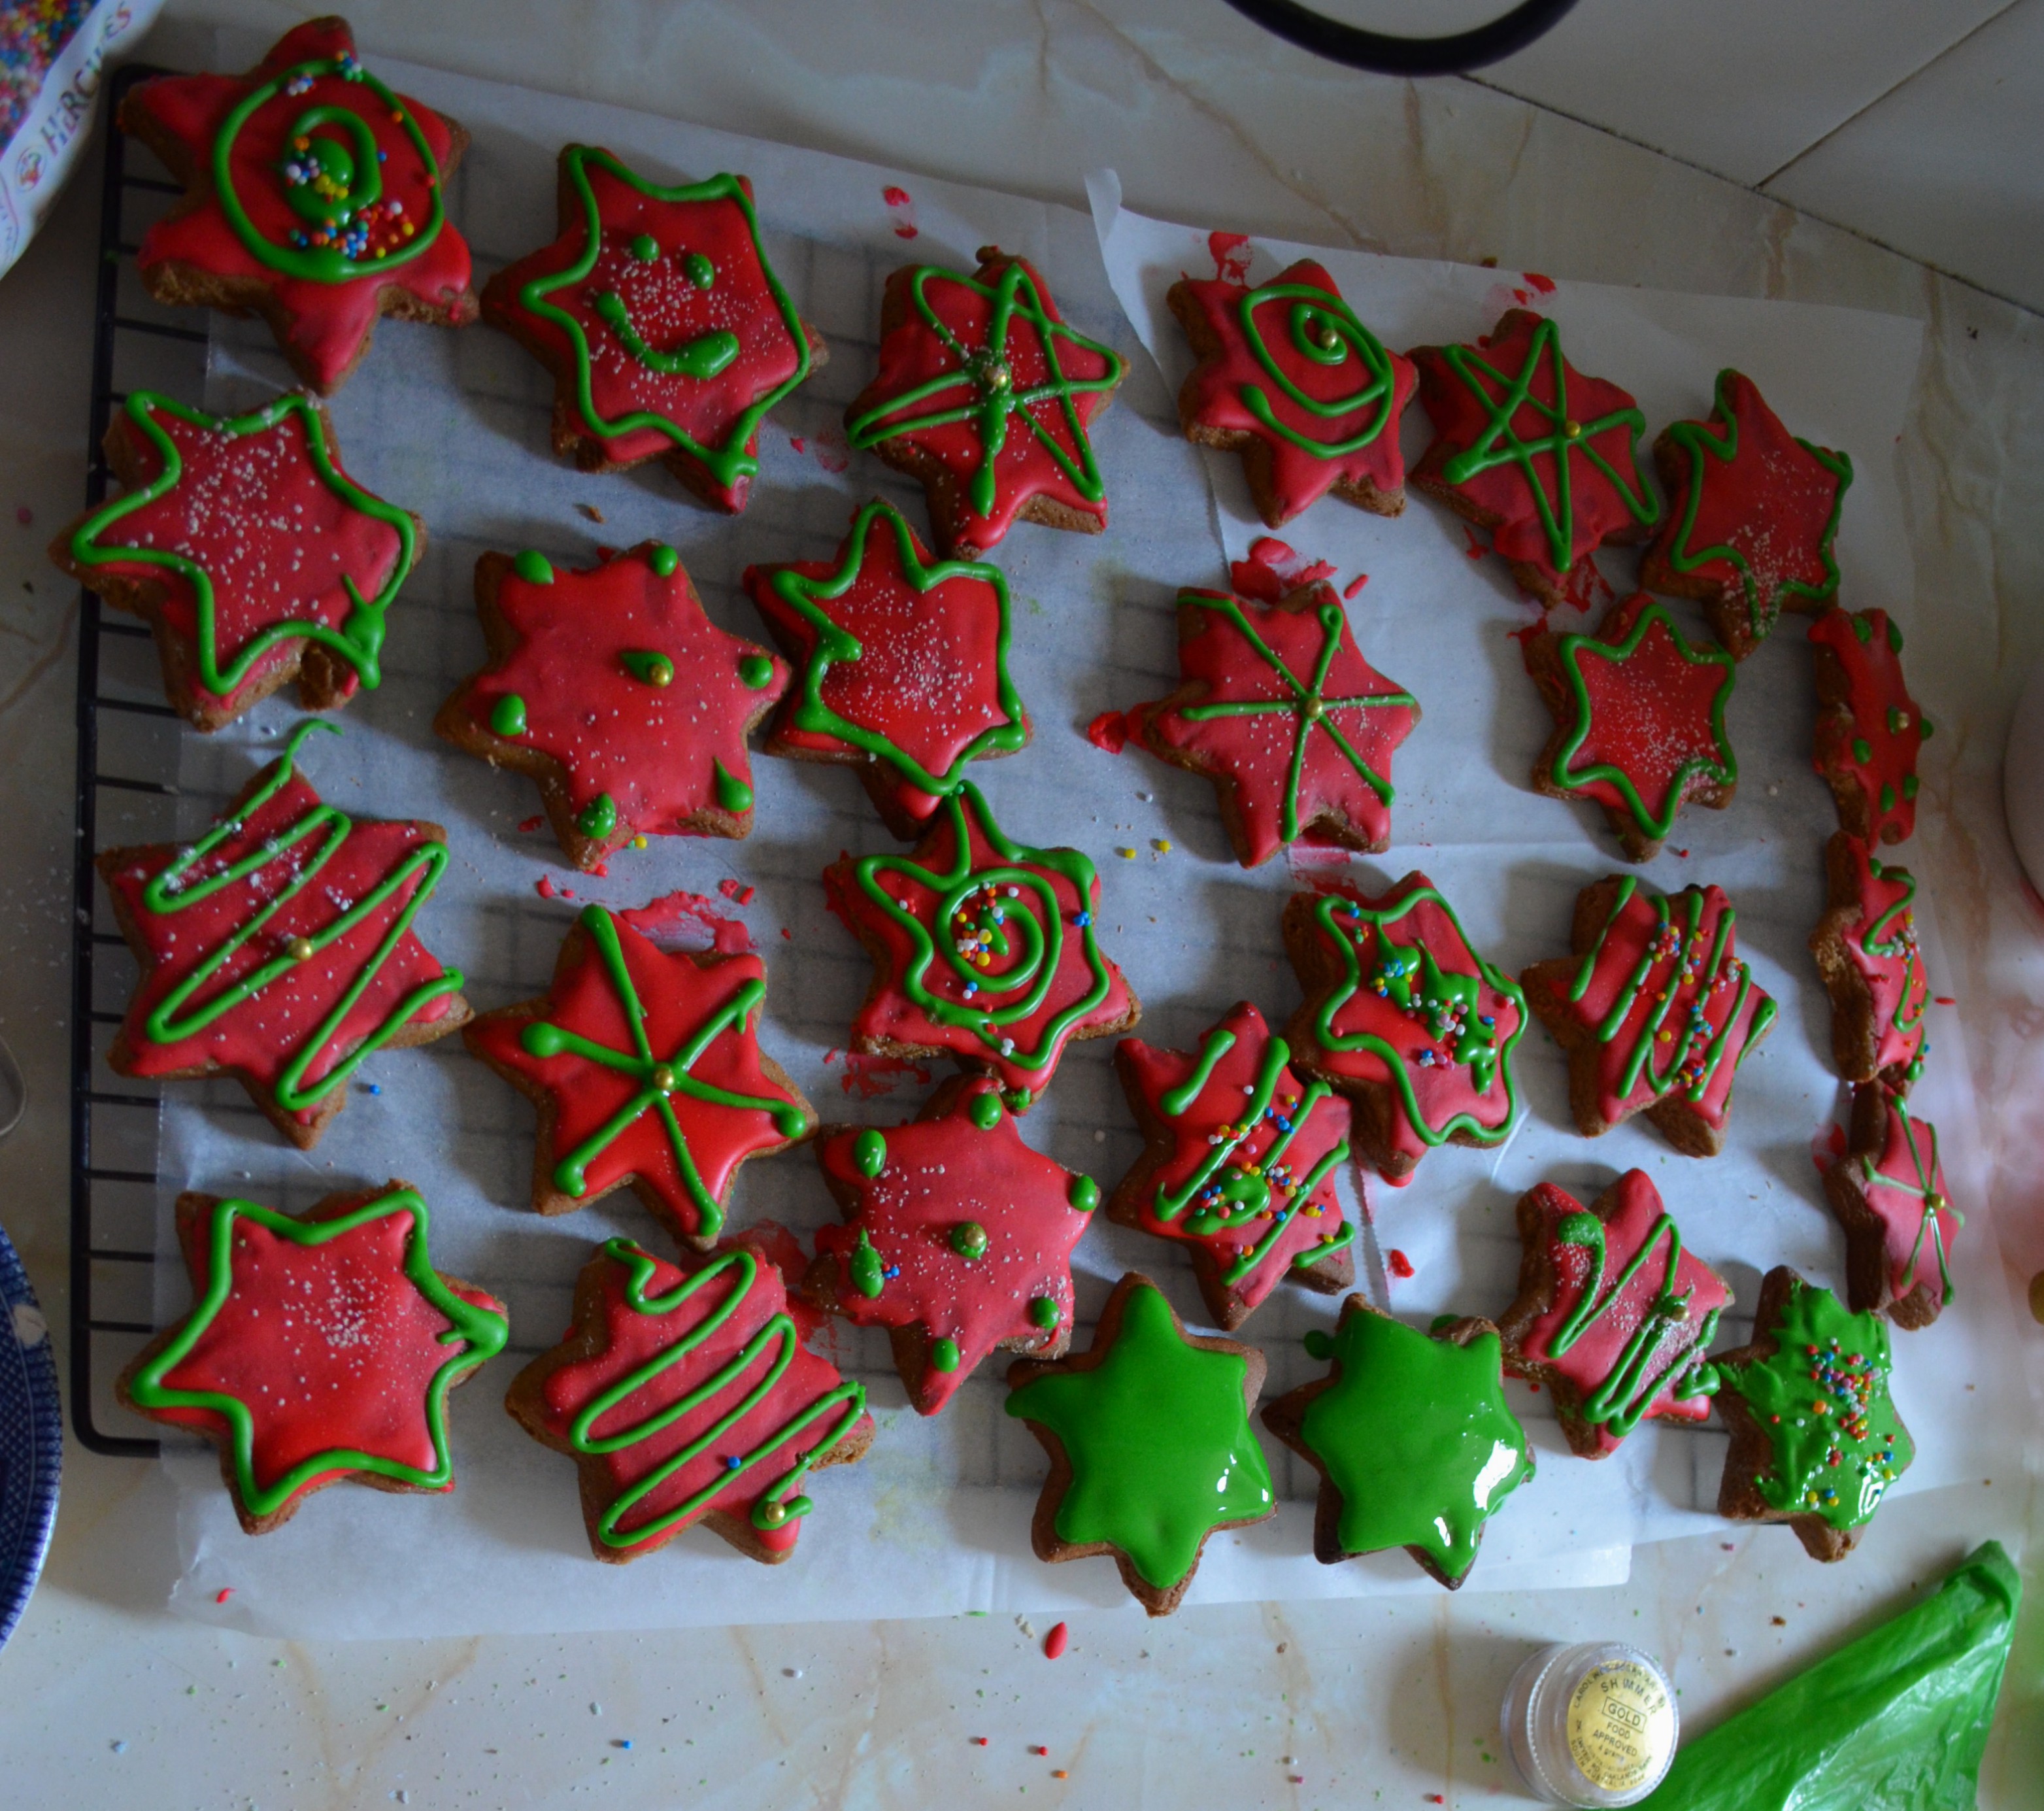
10. Spread your biscuits with the icing you want to use as the base colour, usually I make my trees green and stars red, but I’ve branched out with purple, blue and yellow this year too 🙂 Allow to dry for about 10 minutes.
11. Using a piping bag or a ziplock bag with a corner cut off, pipe a contrasting colour onto your hard icing base and decorate with whatever you have decided to use.
12. Leave for 20 minutes to make sure the piping and decorations are set and store in an airtight container or package for gifting (I put two stars and a tree in little cellophane bags with curled ribbon and give them out, they look pretty cute). Biscuits will keep for about 2 weeks. 

I hope you’ll have a go at these if you have some time in the next few days leading up to Christmas. If not, the recipe is easy to adapt (just use different cutters!) to make some treats to have around the house over the holiday period.
Happy Christmas!


Reblogged this on Cooking Up a Storm With Miss Polly.
LikeLiked by 1 person